

My Top 5 Linocut Printmaking Tools, Materials and Tips
Here is my list of the 5 tools and materials that you’ll need to start Linocut printmaking:
Carving tools,
Linocut material,
Rollers,
Inks,
Paper
1.My Linocut Printmaking Carving Tools

I use Pfeil Linoleum Block Cutters to carve my images. These are an expensive option, and if you’re just starting out there are cheaper types available. But for me, they are definitely worth the money. I never enjoyed linocut printmaking when I tried the technique in school and university. I found the pencil-shaped linocut carving tools uncomfortable and awkward to use. Whereas, with these carving tools, the rounded handle fits perfectly in the palm of your hand, making the motion of carving easier and much more enjoyable.
MY TOP LINOCUT PRINTMAKING TIP:
The linocut printmaking carving tools are sharp, so to avoid any accidents, always carve away from yourself. To do this, when you want to change the direction of the cut, instead of moving the carving tool, move the lino block.
2.My Linocut Material

I use a Softcut material. Again, when I tried relief printing in school I hated the thick hard hessian-backed grey lino material. When I discovered Softcut, I was ecstatic. The material is super smooth to carve through, making it much easier to control your mark-making. Gone are the days of sitting on your grey Lino to warm it up (I swear this was something the teachers told us to do!) And because the Softcut material is so flexible it is perfect for hand printing onto fabric, as well as paper and card.
MY TOP LINOCUT PRINTMAKING TIP:
Each mark you make with your linocut printmaking carving tool is important. Carve with that in mind. If you are carving the image of a dog, for example, carve in the direction of the fur. If you are carving a landscape, carve in the direction of the grass.
3. My Linocut Printmaking Ink Rolling Rollers

There are so many different rollers out there for relief printmaking; different roller sizes, soft or hard rubber, plastic or wooden handles, ones where the handle and roller are attached, and others where you can remove the roller completely from the handle. I bought a few different types before I found my favourite relief printmaking roller. My personal preference is a soft rubber roller, with a wooden handle, and a removable roller. I much prefer the soft rubber ones as I find the hard rollers don’t spread the ink evenly. I like being able to take the roller off the handle so I can thoroughly clean the roller after printmaking.
MY TOP LINOCUT PRINTMAKING TIP:
You want to cover the whole roller with an even amount of ink, therefore only roll the roller in a full forward roll movement. Do not roll back and forward as this will not cover the whole roller in ink. The same applies when rolling ink on the Linocut, full forward rolls only.
4. My Linocut Relief Printmaking inks


All of the relief printmaking inks I own do not require solvents like white spirits to clean, they are instead cleaned up with soap and cold water. For linocut printing onto fabric, I use Speedball Fabric Block Printing inks. There are so many different vibrant colours to choose from in this range, which makes it great for repeat printing the same colour onto fabric, without having to worry about mixing up that bright turquoise colour you wanted over and over again. Then once you have printed onto your fabric you just need to leave them air-dry for a week and they are set, there is no need to heat set. For printing onto paper and card I use Cranfield Caligo Safe Wash Printing Inks. Again there is a great selection of colours to choose from, and you don’t lose out on the quality, which I found was the case with other safe wash inks.
MY TOP LINOCUT PRINTMAKING TIP:
Rolling the ink quickly picks the ink up, and rolling the ink slowly transfers the ink. Therefore you want to roll the roller quickly over your ink tray to pick it up and roll the ink slowly over your Linocut to release the ink.
5. My Linocut Printmaking Paper
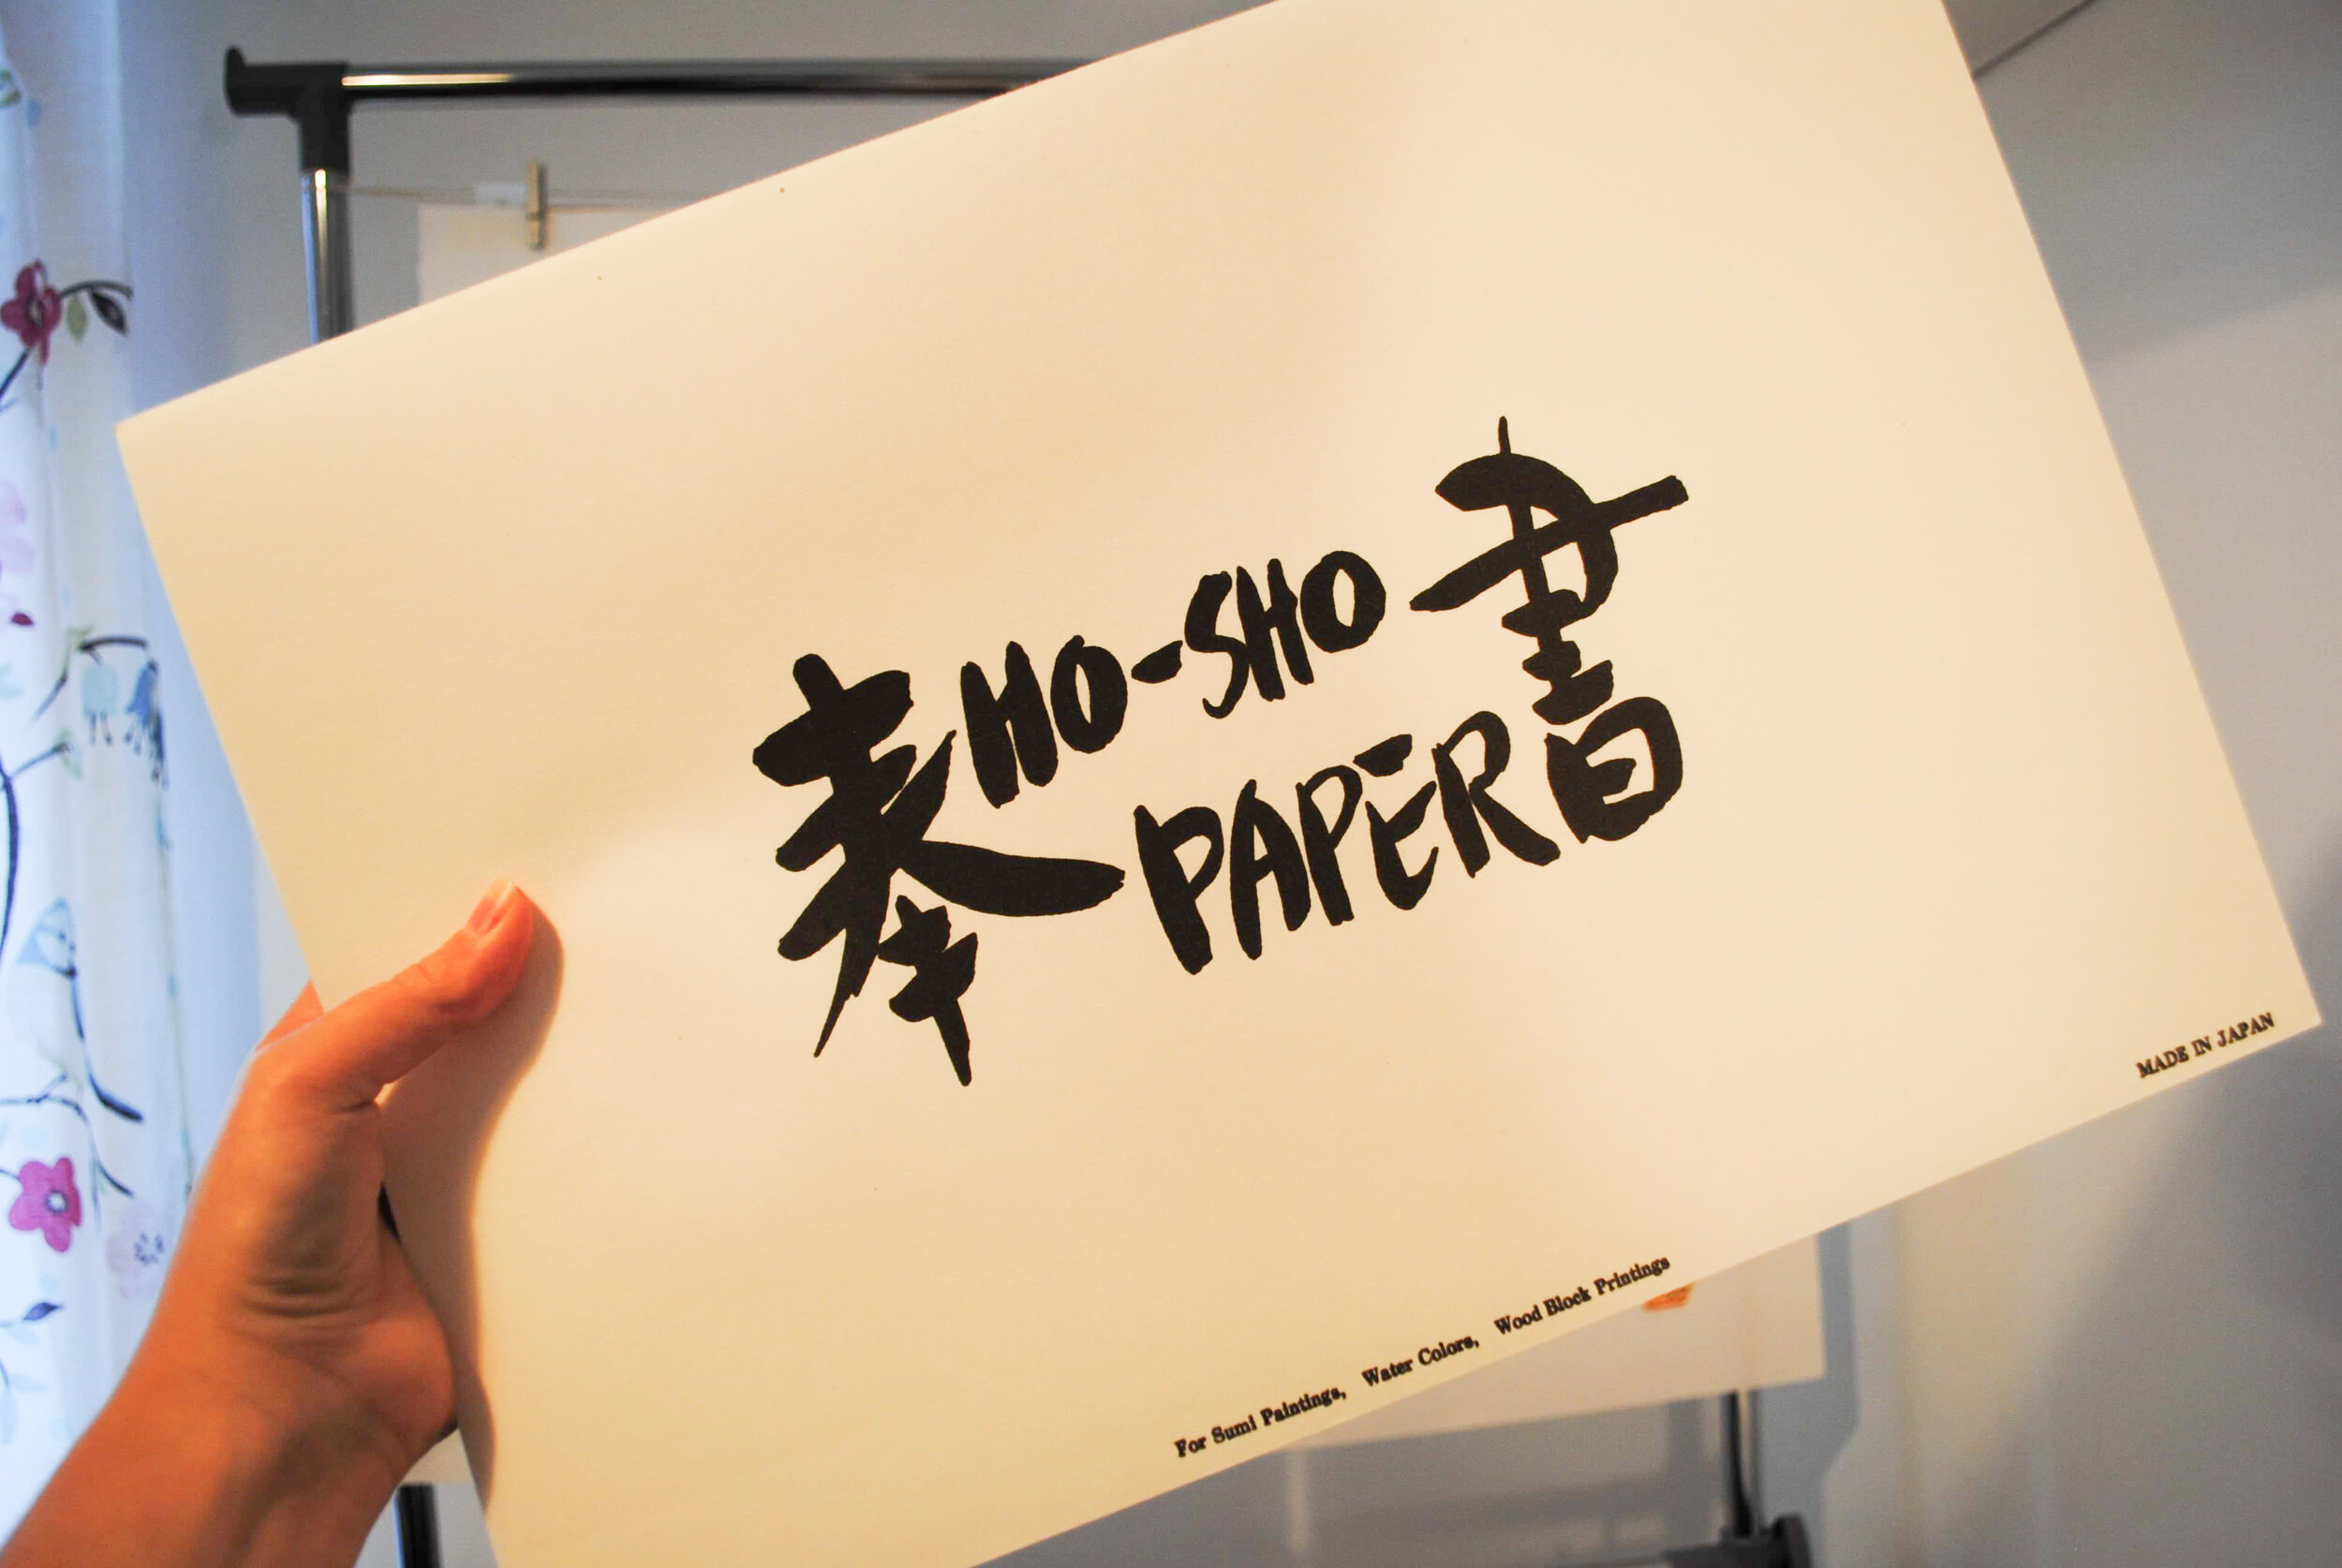
My favourite paper to use is Hosho Paper. As I hand press my images, I find this paper perfect for that, as it is thin enough to pick up the ink with only the pressure of my hand pressing down on the paper. I can get an even transfer of ink on my paper. For hand pressing, I find that the thicker the paper, the more likely it is to slip on the Linocut block, which leads to smudging. Also as the thicker paper is more difficult to bend, this thinner paper is more flexible making registration easier.
MY TOP LINOCUT PRINTMAKING TIP:
To avoid wonky prints, plan ahead to make sure you have a reference point to match your printmaking paper to. Tape a piece of paper down on your table (it needs to be larger than your printmaking paper) place your linocut block onto the paper (draw around this with a pencil, for future prints) now match the top edge of your printmaking paper with the top edge of taped down paper and lay it down over your linocut block.
Thank you for reading my top 5 Linocut Printing tools and materials, I hope you found it helpful, please feel free to share if you did.
If you want to see these Linocut printmaking supplies in use, I have made a Linocut printmaking video, where I carve, and print my design onto a cotton fabric tote bag.
You can check out my Linocut Printmaking Video here
Love Corrina x