DIY Product Photoshoot (Cost-effective, quick and easy!)
Are you looking for a quick and easy, cost-effective way of taking photos of your products in your own home? Then, you’re in the right place! In an ideal world, you’d send off your products to have beautiful photos taken by a professional photographer. But if you don’t have the funds, you’re just starting out or you just want to take a few quick snaps, this is the photoshoot set up for you!
You’ll need:
2 x White Foam Boards
Tin Can
Hair Scrunchie
Phone
Natural Light
Items from around your house for props
Find the room in your house with the most light. Check the forecast, I prefer a bright but overcast day. I personally don’t like direct sunlight as this creates a strong shadow. Set up your white boards facing the light; one flat on the floor, and the second flat against the wall, or use a box to lean it against.
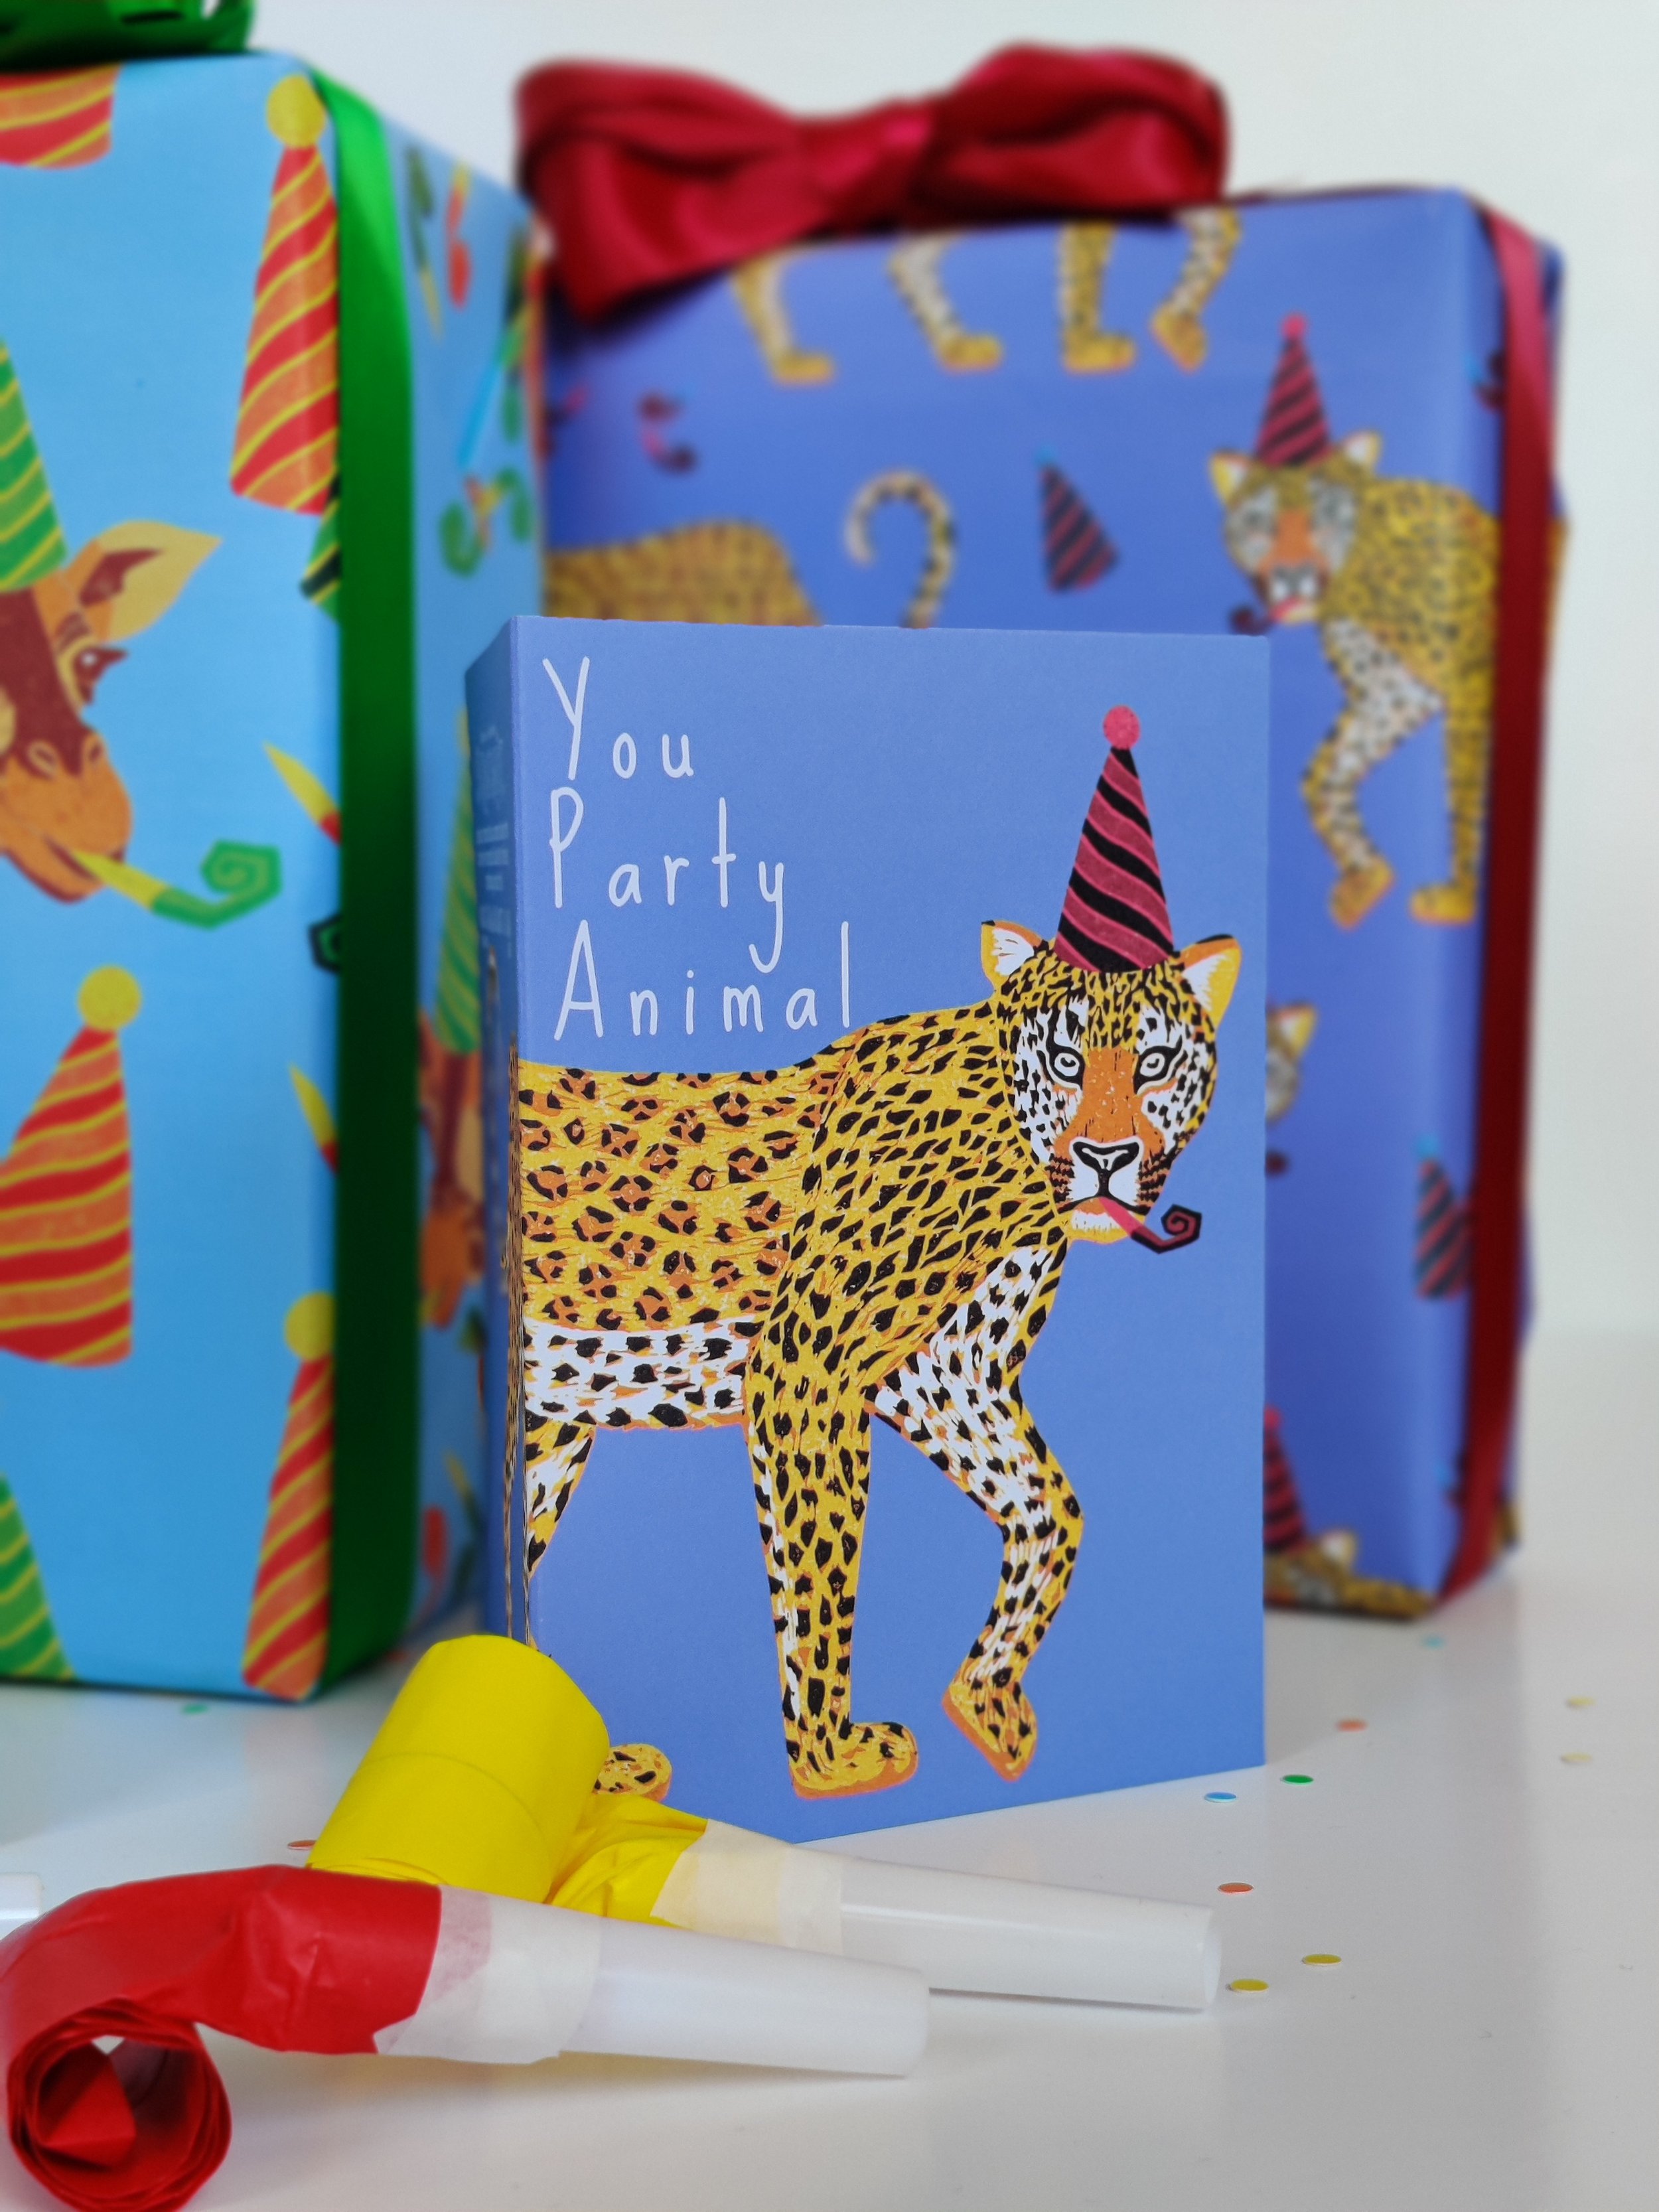
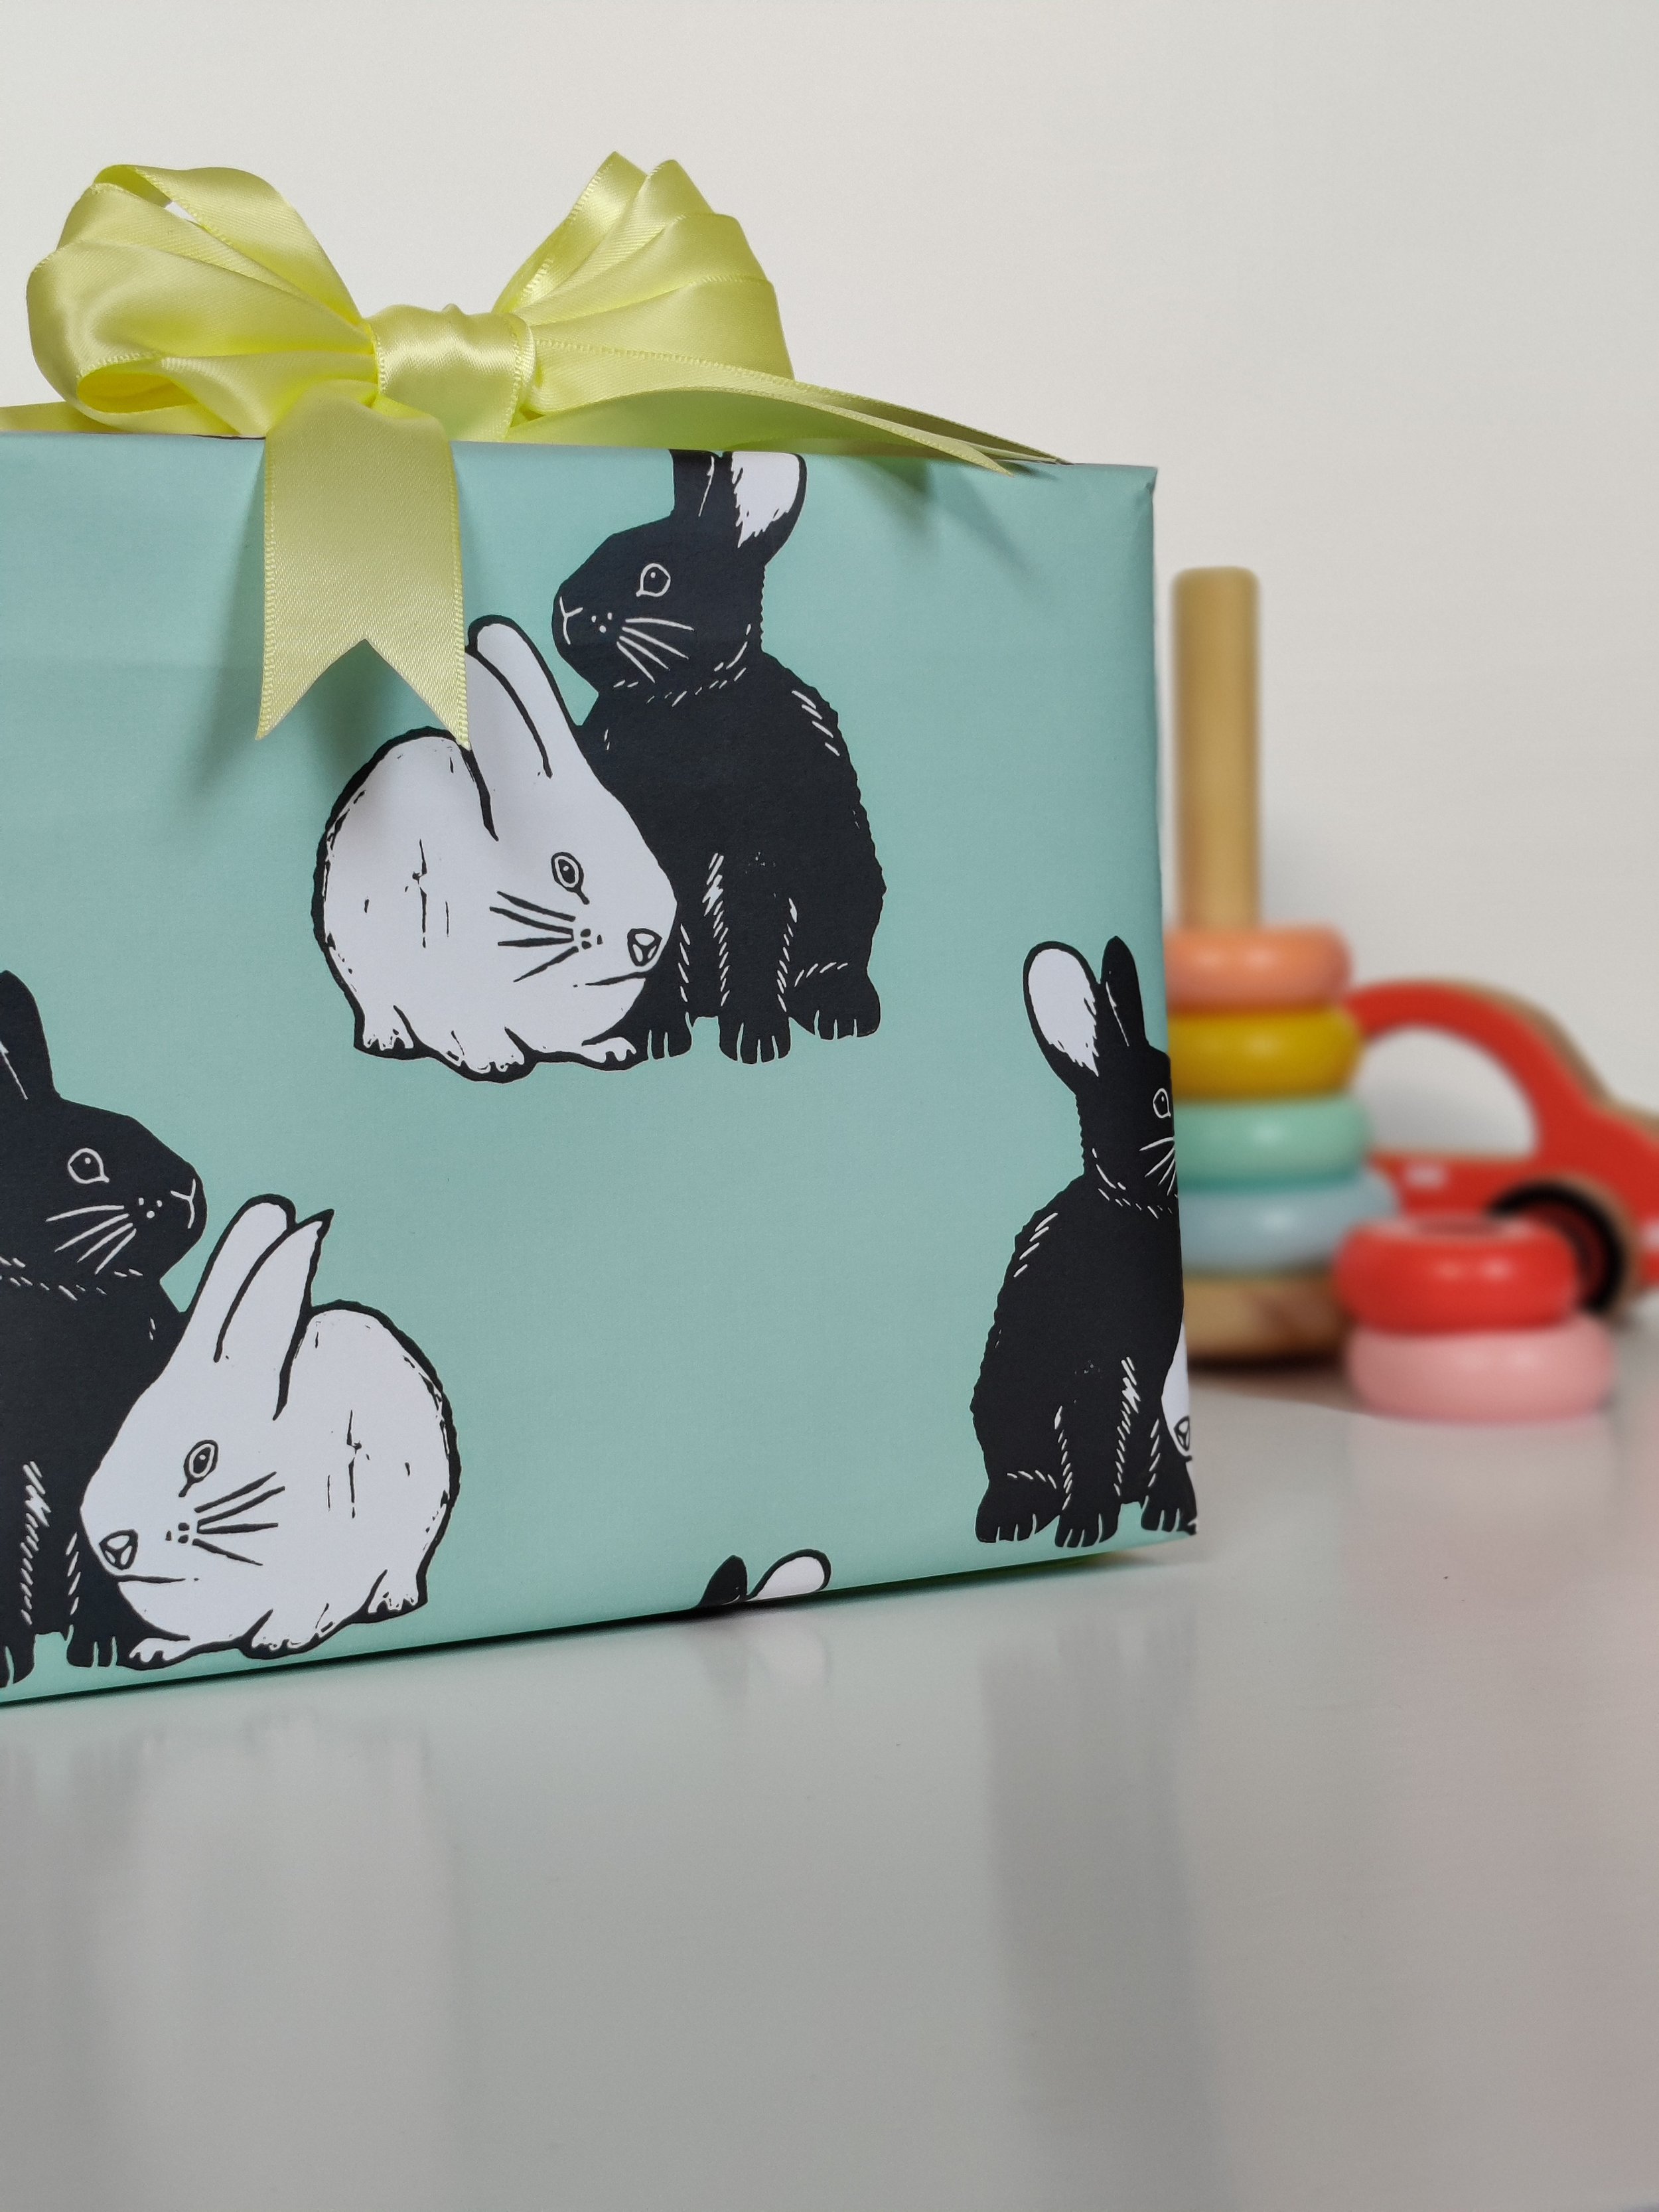
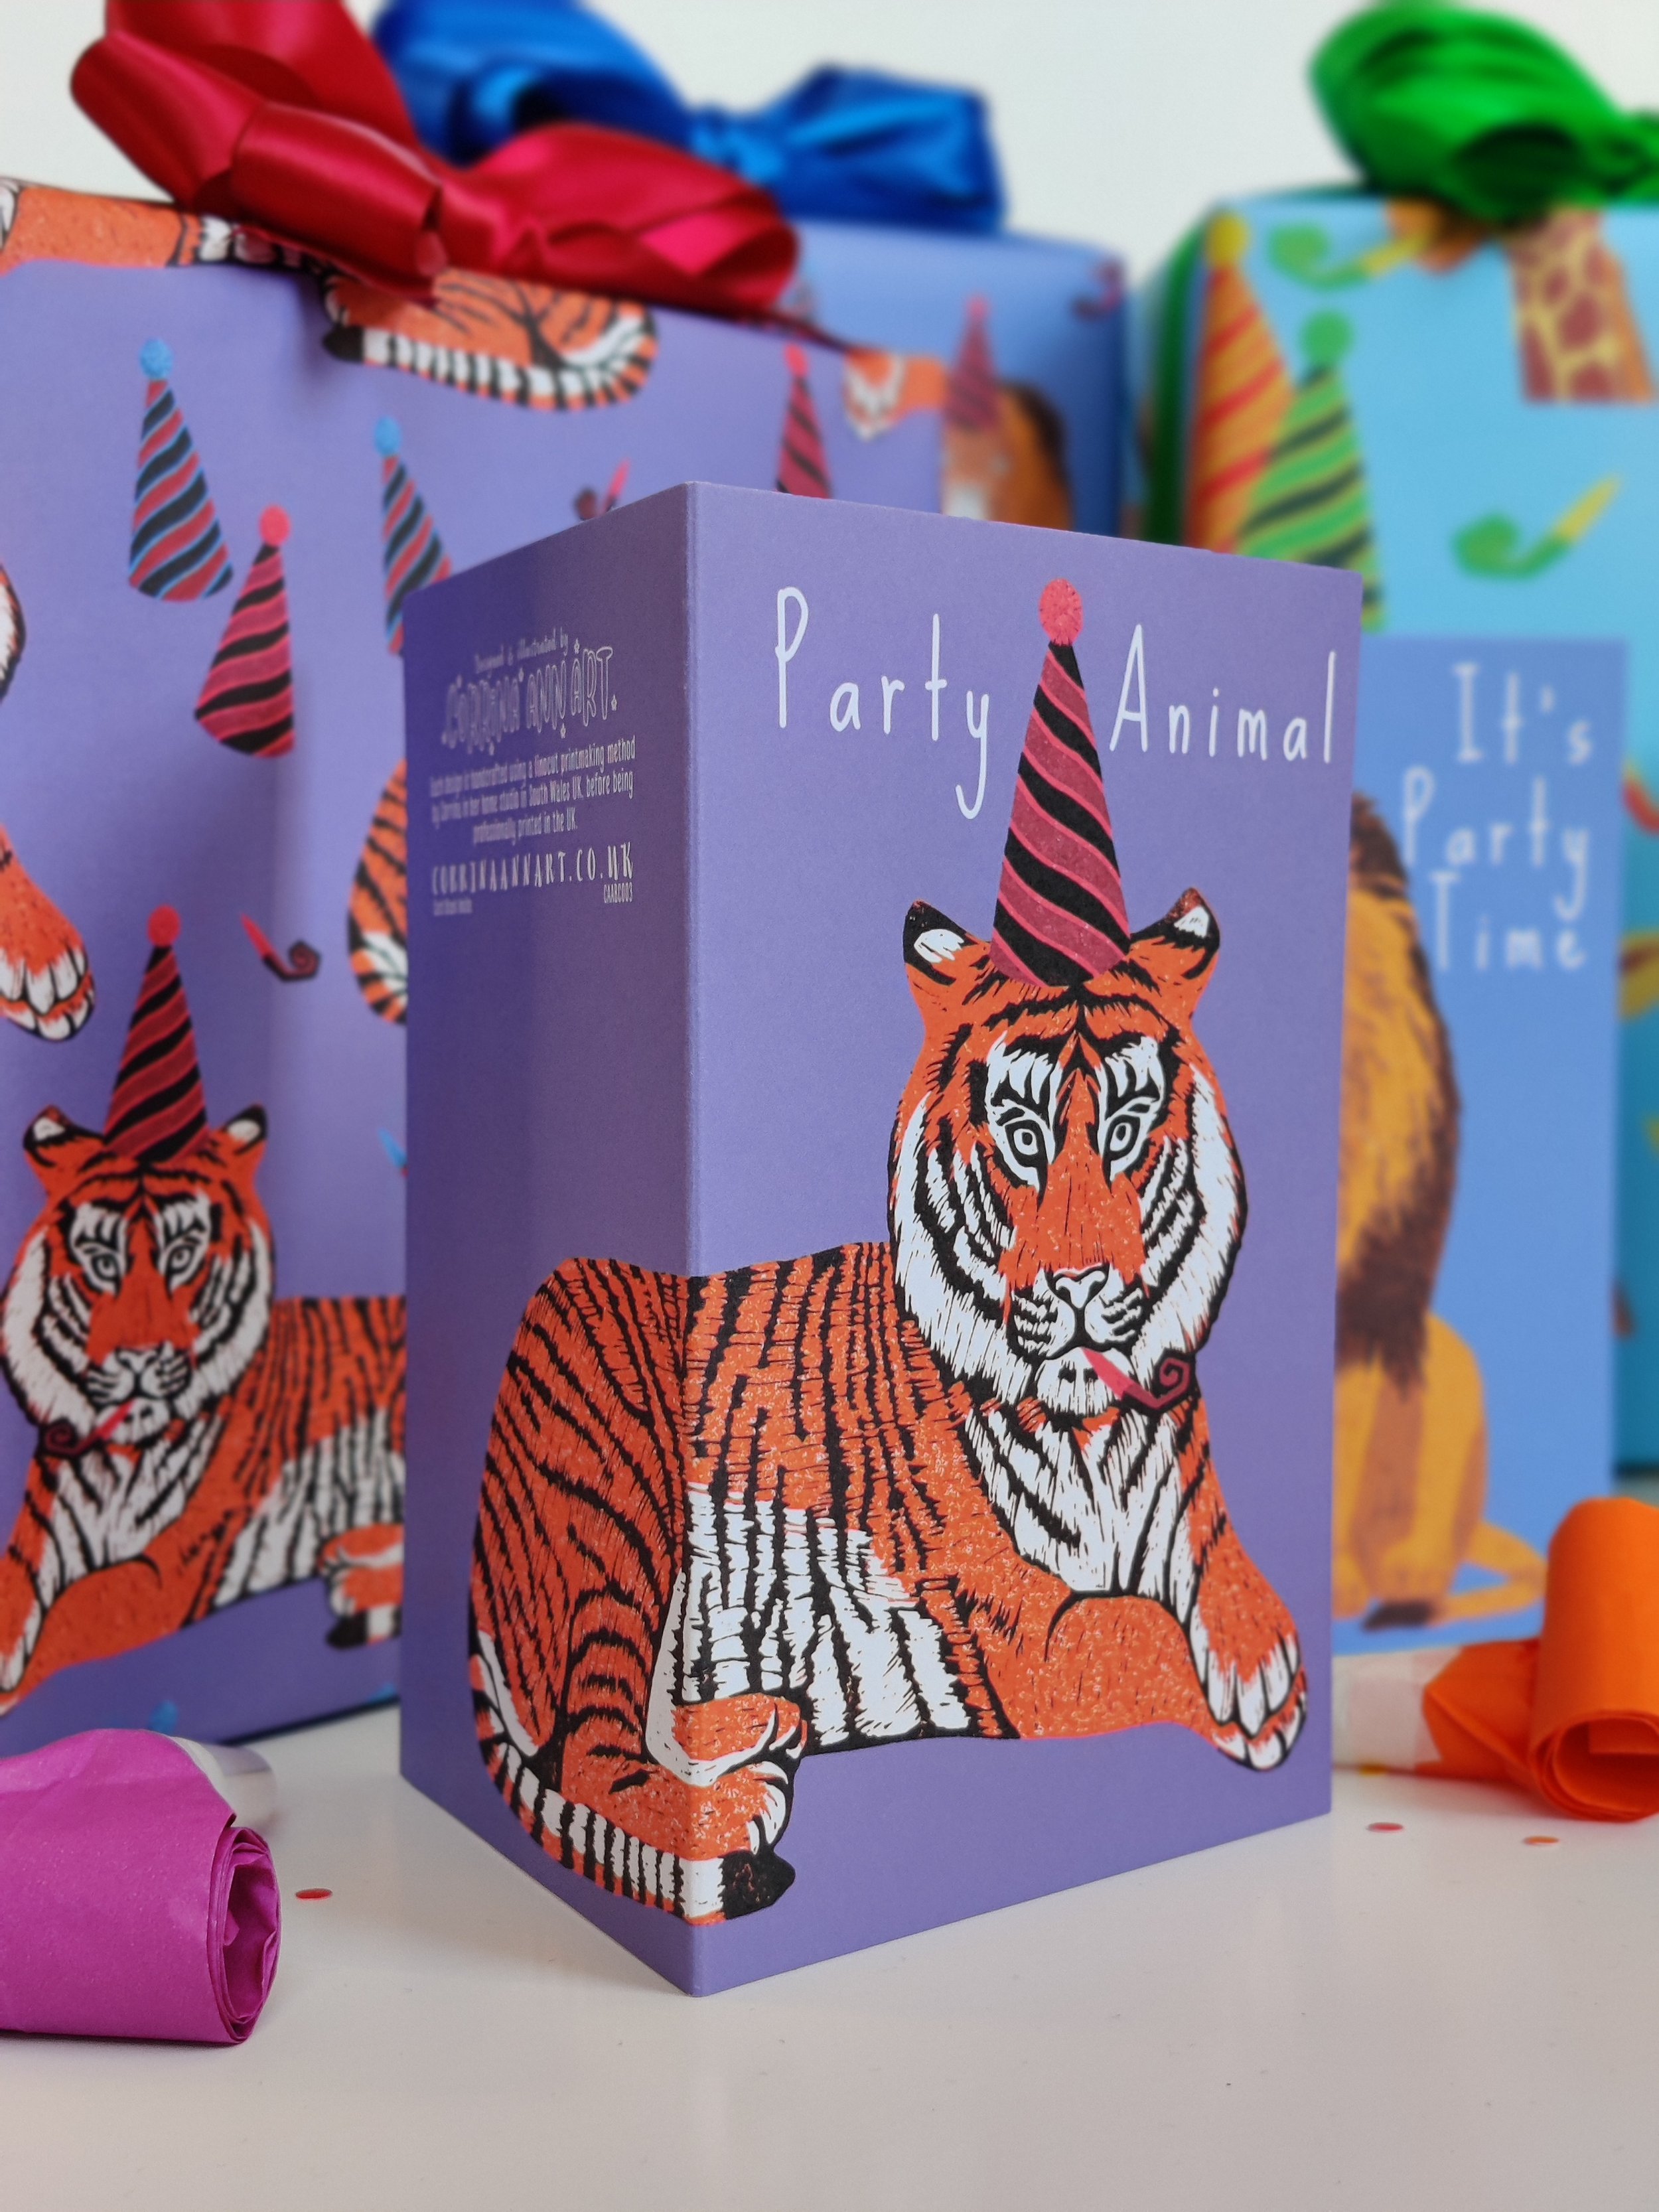
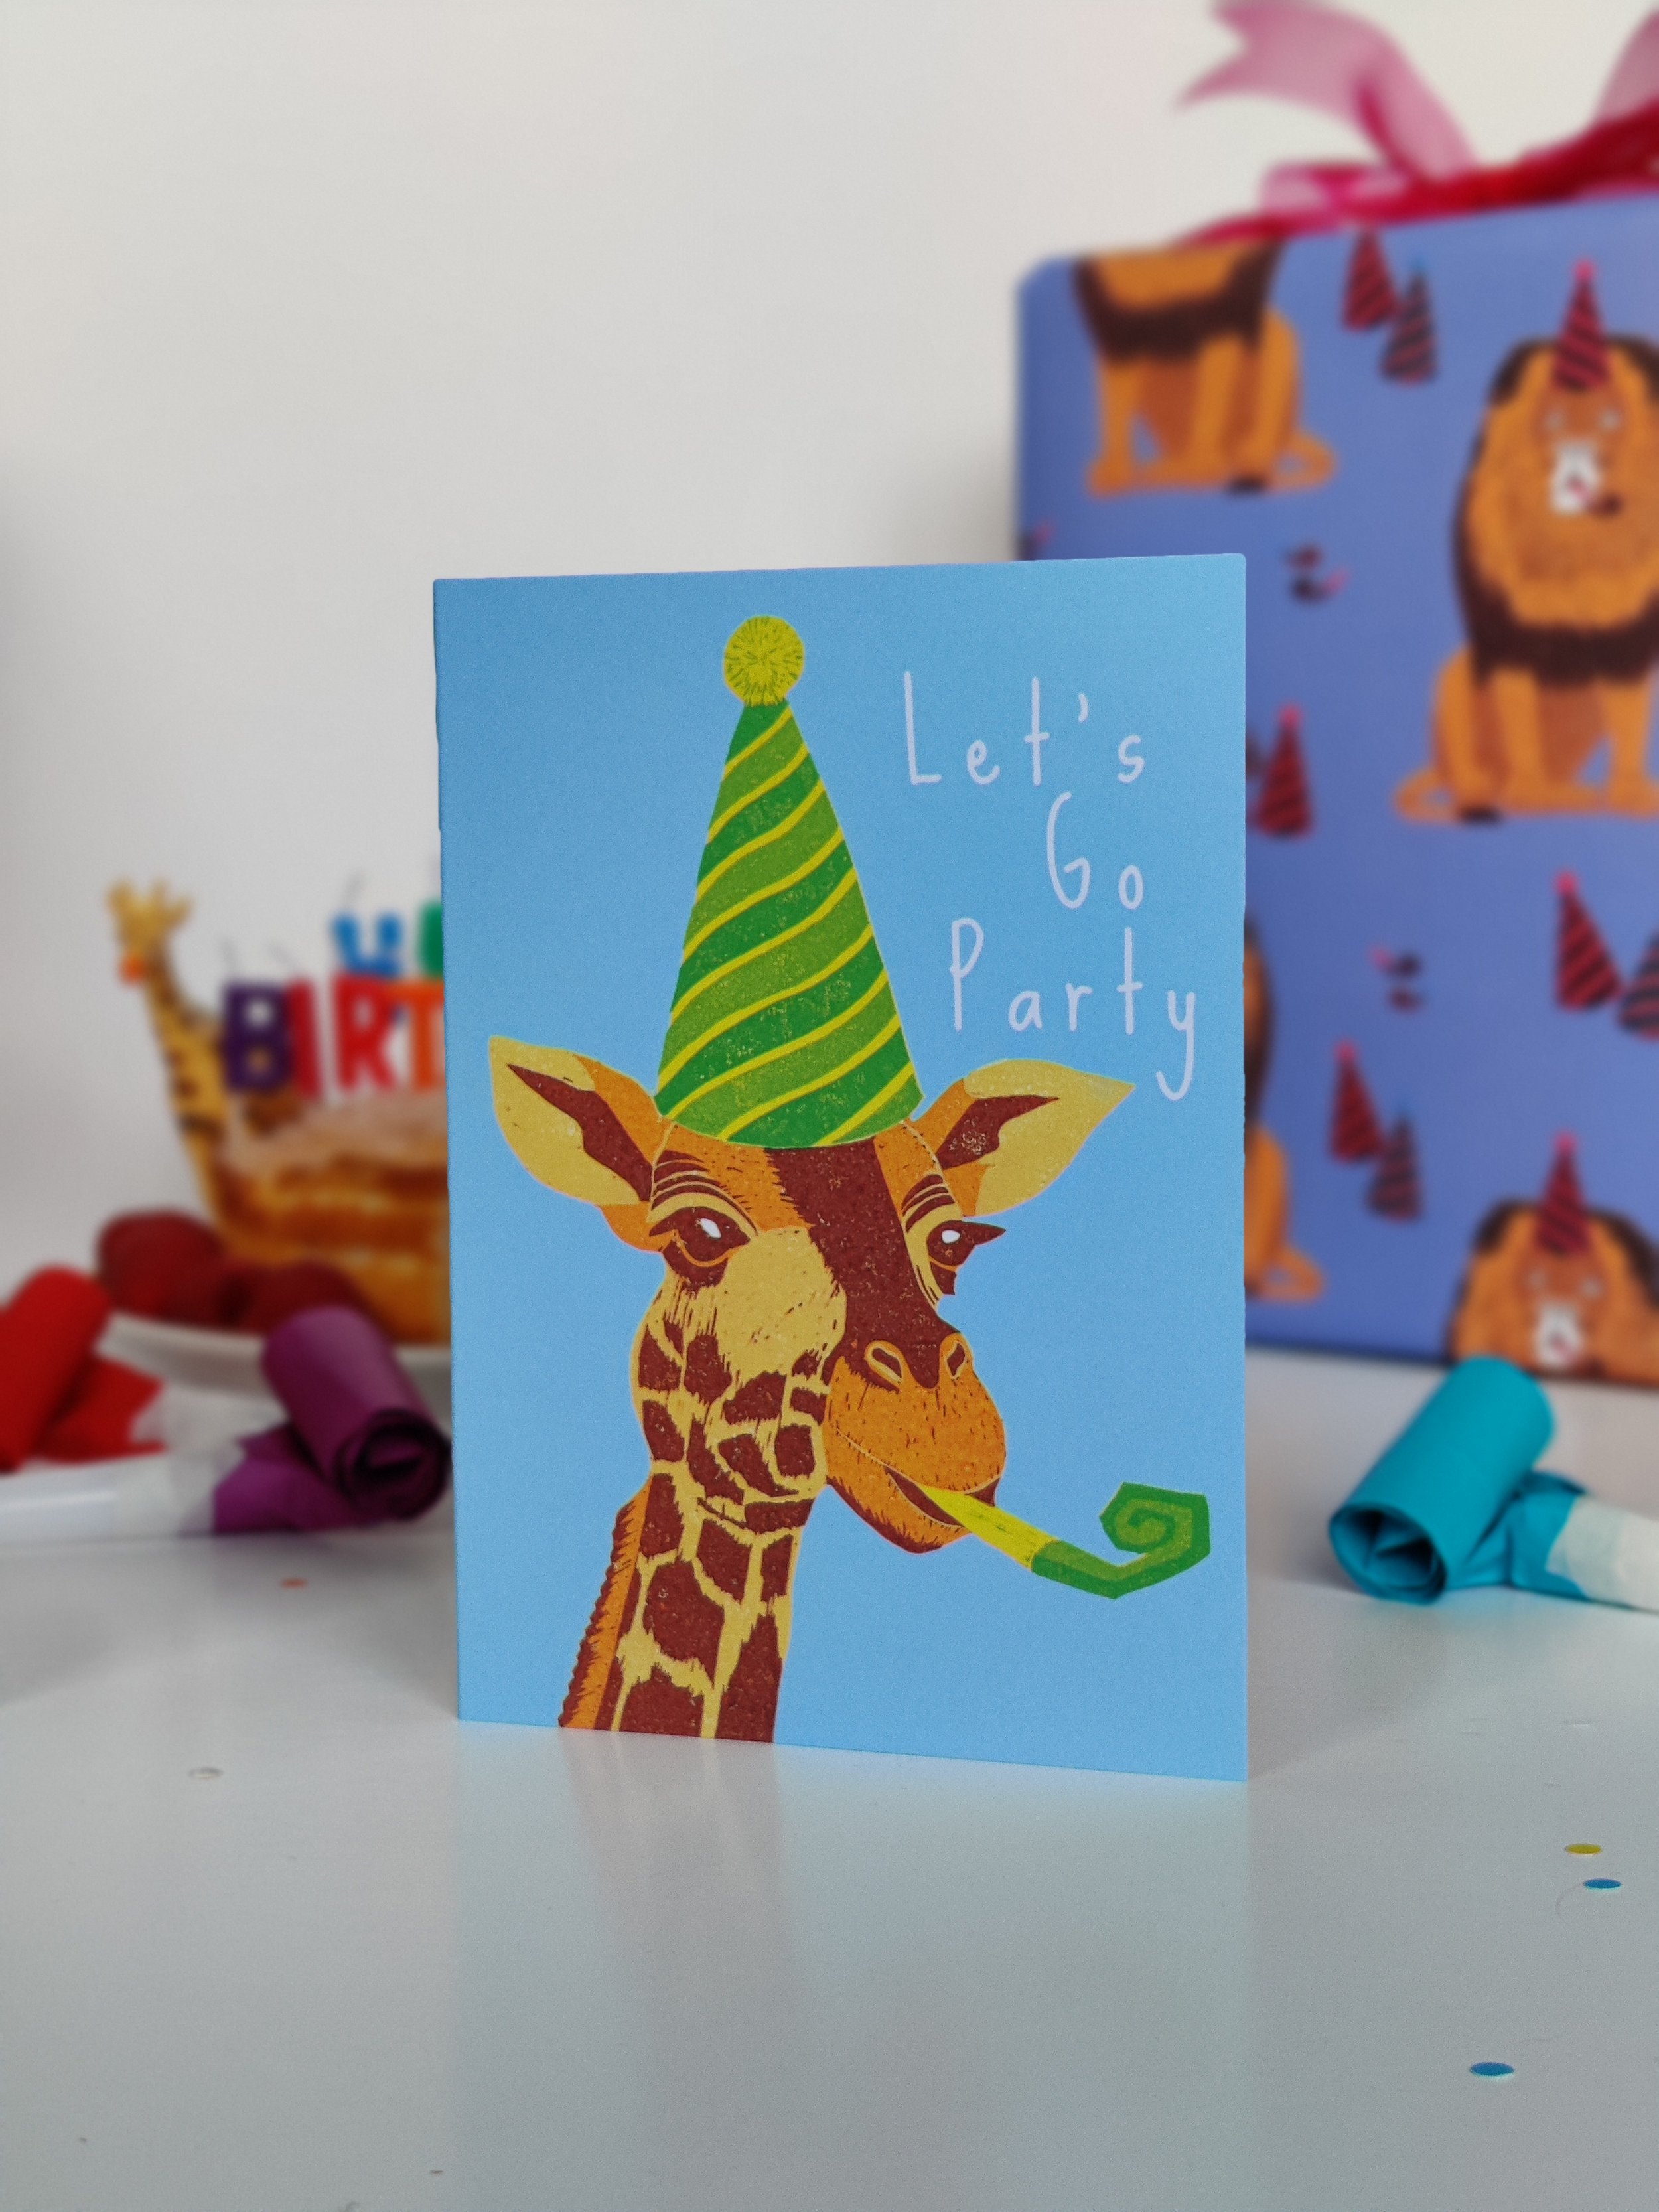
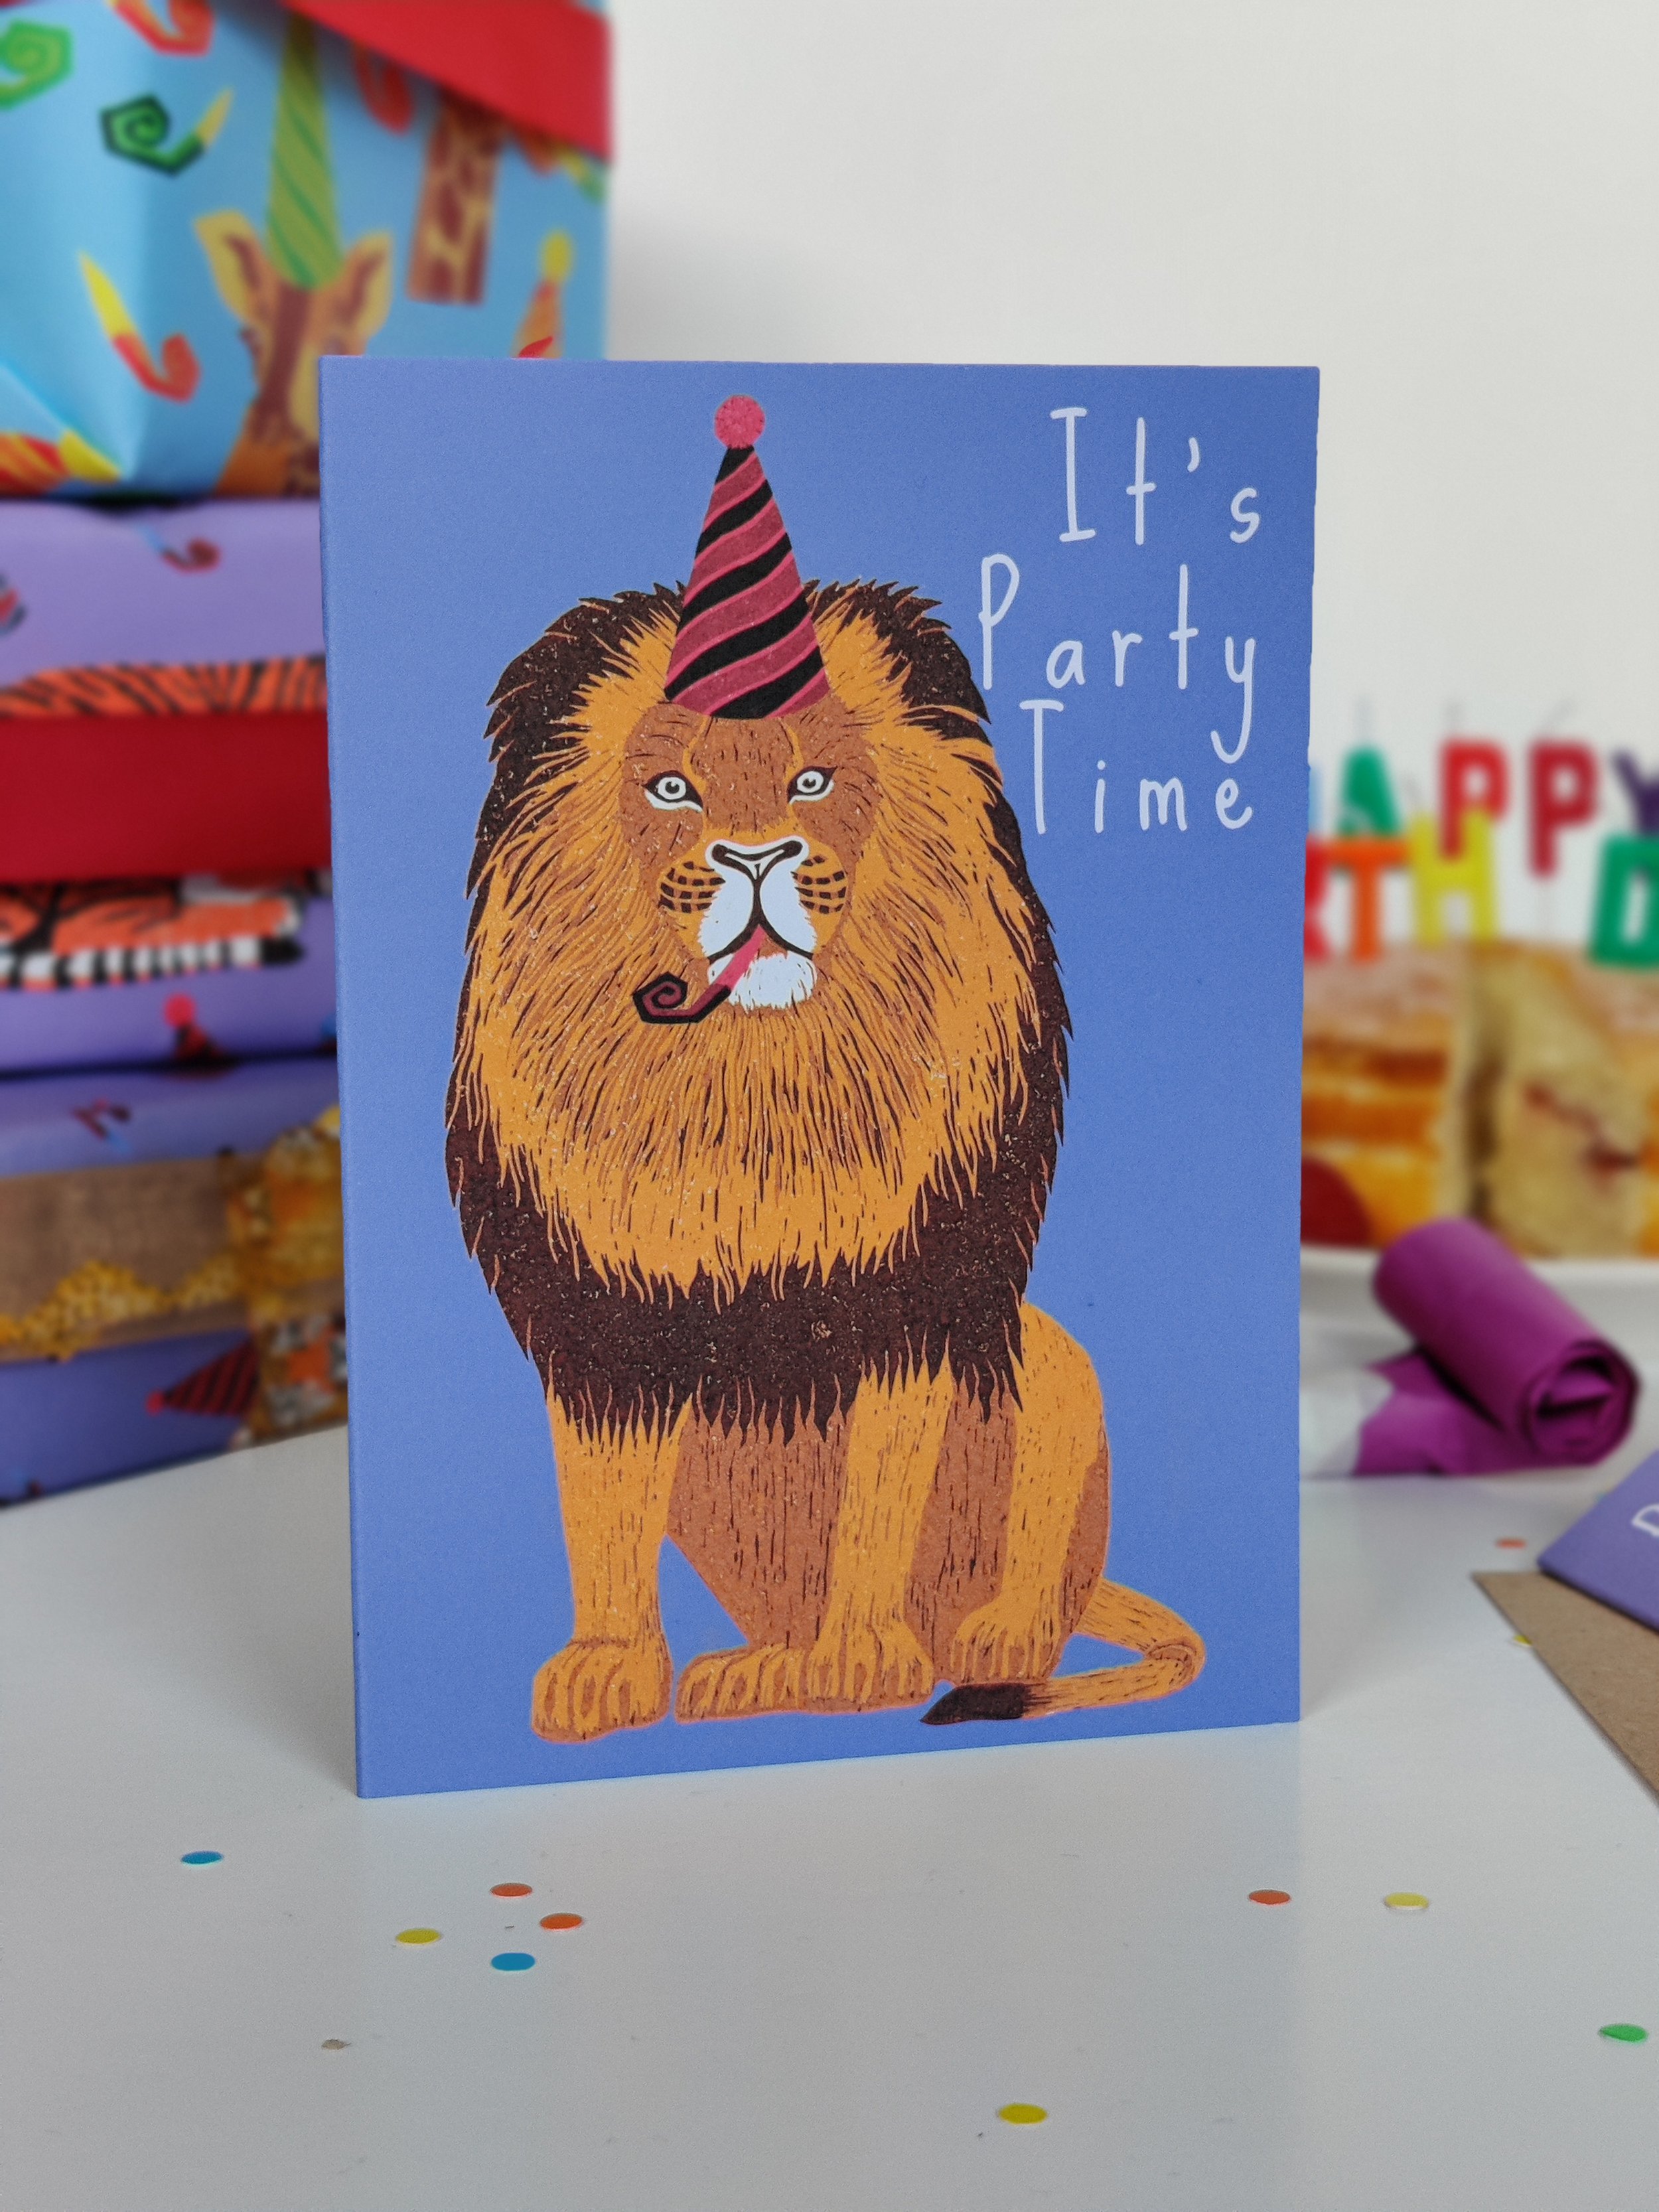
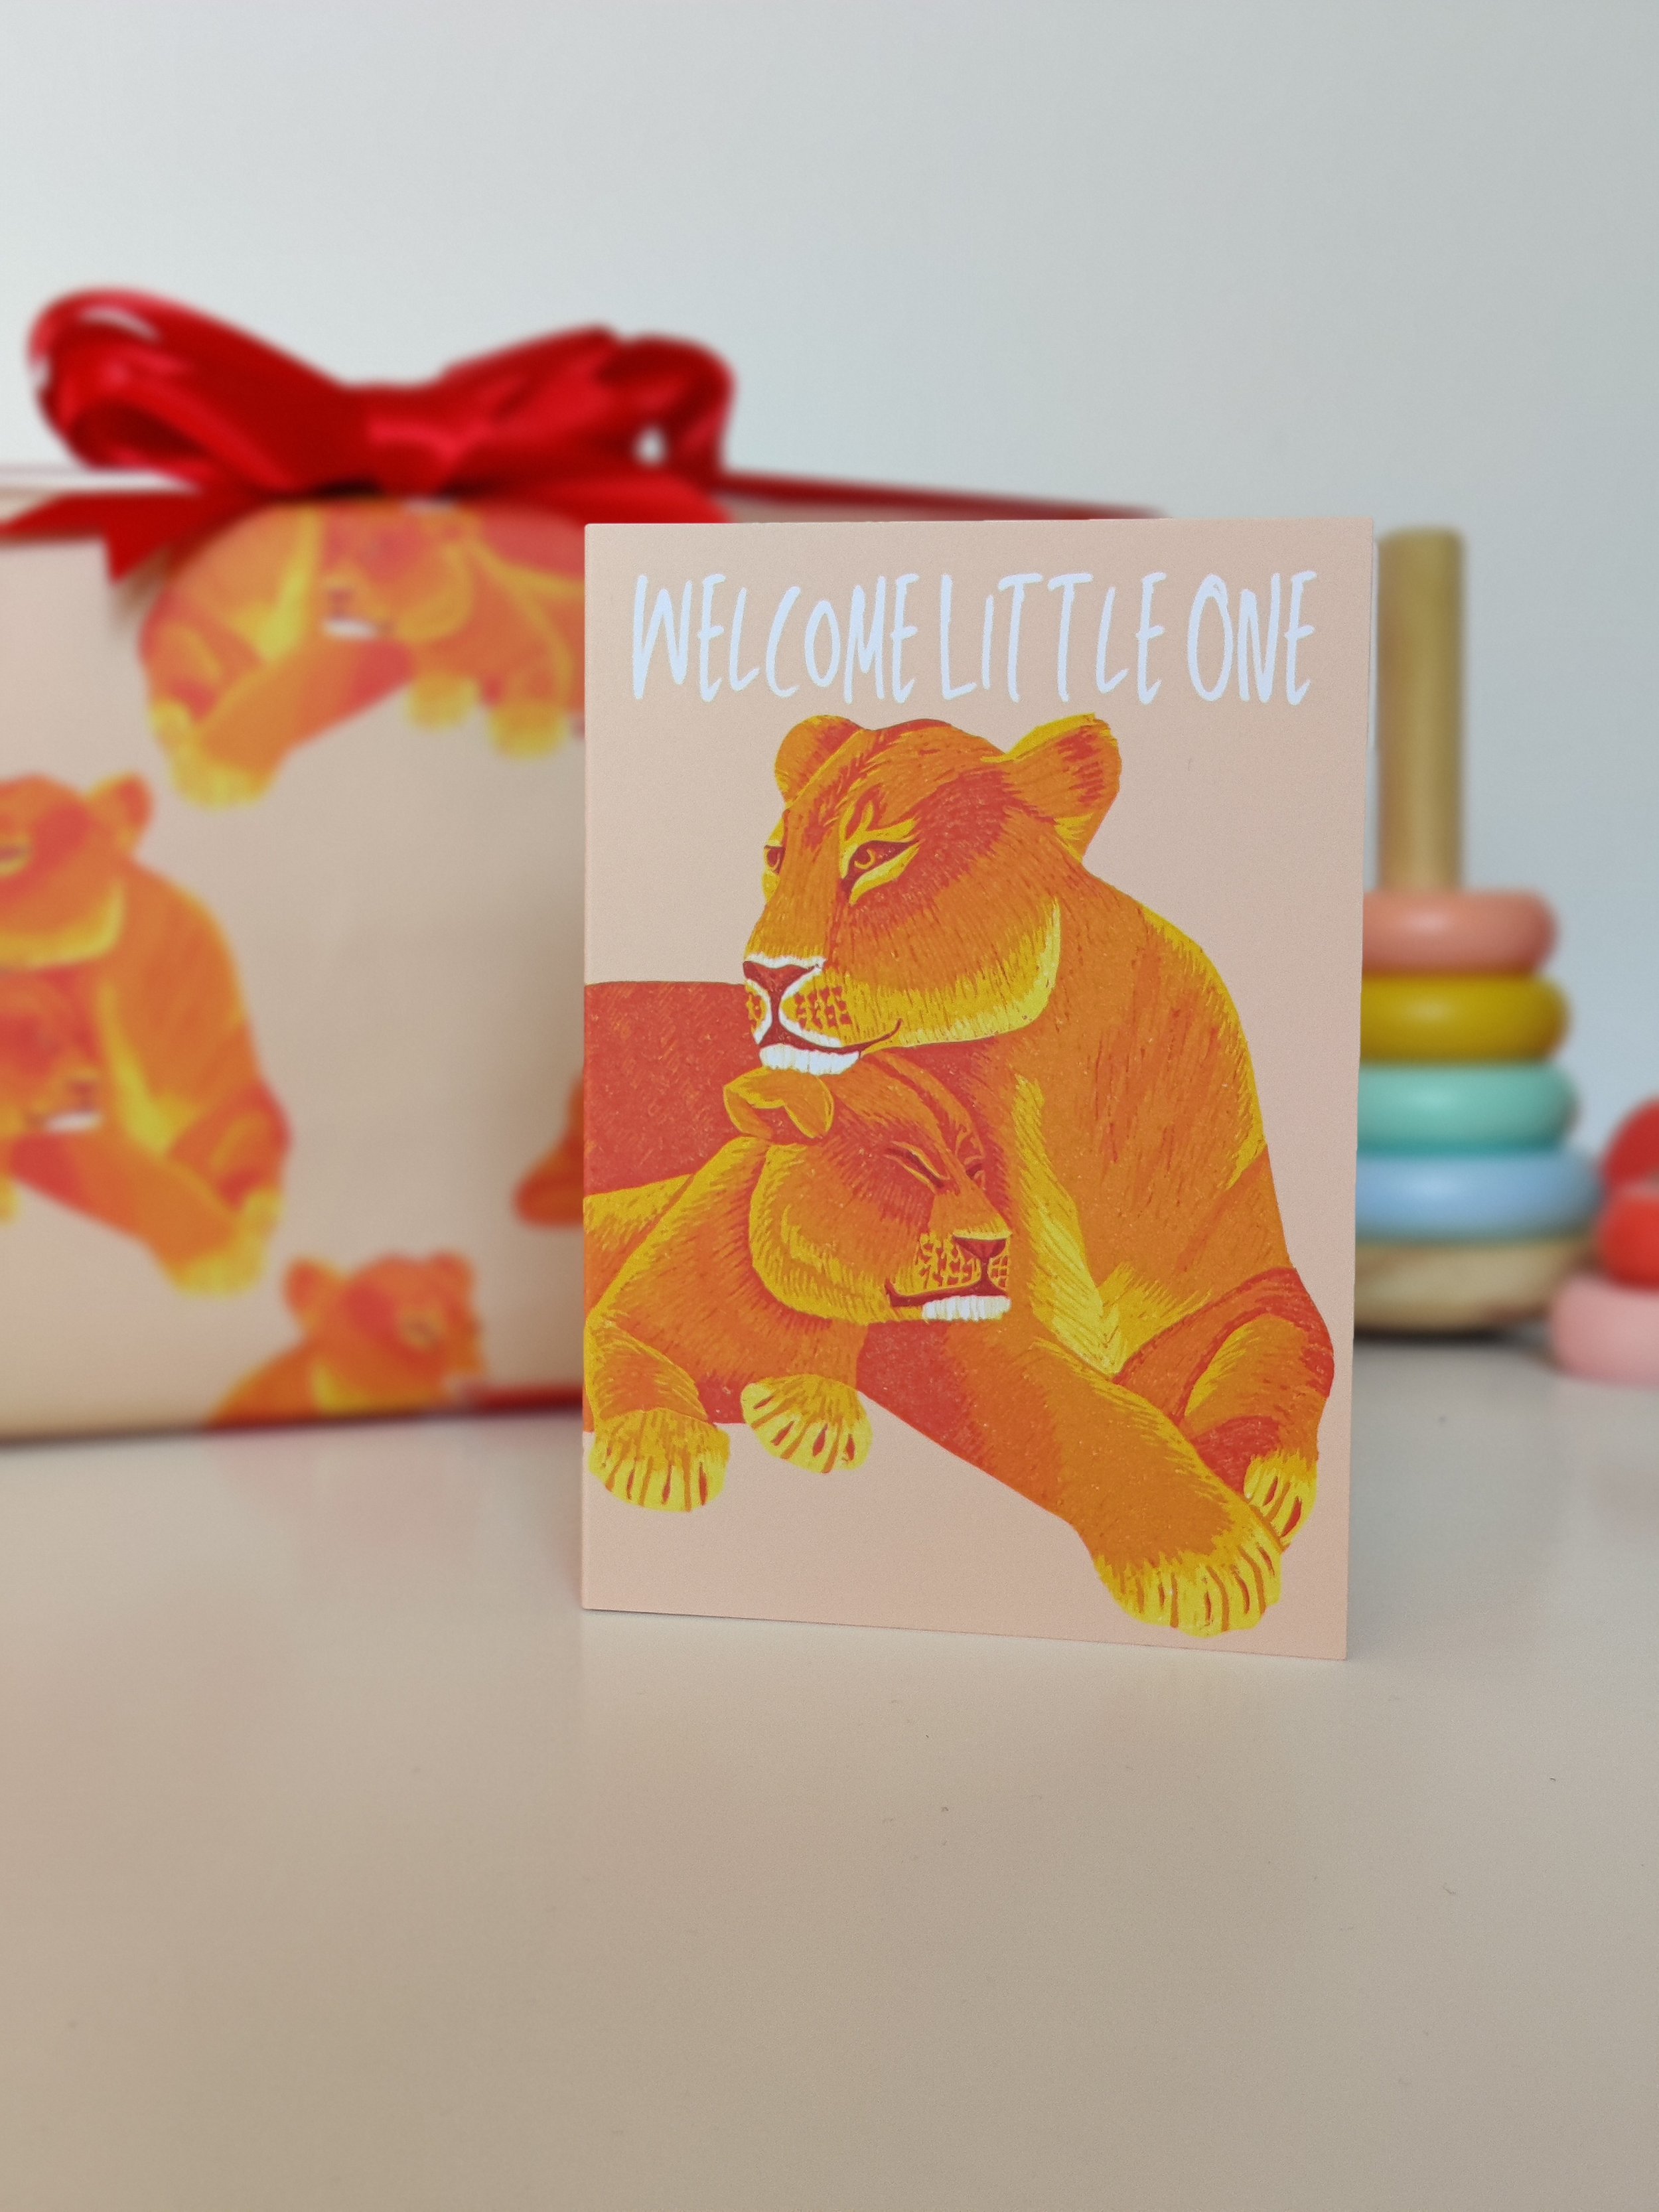
Set up your scene with your products and a few props. You can use items from around your house to save money, or get creative and craft your own. I have a heart-shaped puncher, perfect for creating heart confetti for my Valentine’s range. A stationery hole puncher makes perfect small circled confetti, suitable for my birthday party range. And for my new baby range, I have some wooden toys (a wooden car and wooden stacking rings) for the props. For my birthday party range photoshoot, I also bought a victoria sponge cake (a treat for after!) party blowers, and candles.
For taking the photos I don’t use anything fancy, just my phone (My camera is good but it is not an expensive brand) and I use the portrait setting. In this setting it automatically focuses on the item nearest the camera, your main product, while blurring the items in the background. Creating a professional effect, without the professional!
For individual product photos I use a tin can as a makeshift tripod. To do this you need to place the tin can in front of your product, now place your phone against it with the camera facing outwards towards the product, and wrap the hair scrunchie around them both. Using the self-time setting on your phone allows you to take a hands-free photo. This prevents blurry photos and also leaves your hands free to swap out the products.
Like I said at the beginning in an ideal world you’d send your products to a professional photographer, and I would definitely recommend this. I am not a professional, but if like me you’re still finding your feet and don’t have the funds yet to have professional photos taken, I hope this little DIY Product Photoshoot helps you!
Love Corrina x